Master Your Roof Estimates: The Ultimate Guide to Xactimate Roof Sketch
The accuracy of your roof estimate can make or break a job. It’s the foundation of your claim, the blueprint for your work, and the key to your profitability. In today’s fast-paced market, guessing doesn’t cut it. You need precision, speed, and clarity. This guide dives deep into mastering the Xactimate Roof Sketch, transforming complex roof structures into detailed, data-driven estimates that insurance carriers respect and approve.

Why Xactimate Roof Sketch is Non-Negotiable
- Unmatched Accuracy: Eliminates human error in measurements for precise material and labor costs.
- Faster Claims Approval: Professional sketches reduce back-and-forth with adjusters.
- Professional Credibility: Builds trust with adjusters and homeowners.
- Comprehensive Estimating: Automatically generates quantities for line-item estimates.
Getting Started: Setting Up Your Sketch
Utilize detailed roof reports from providers like EagleView or Hover to start your Xactimate roof sketch:
- Order Your Report: Use the property address to get a precise aerial measurement report.
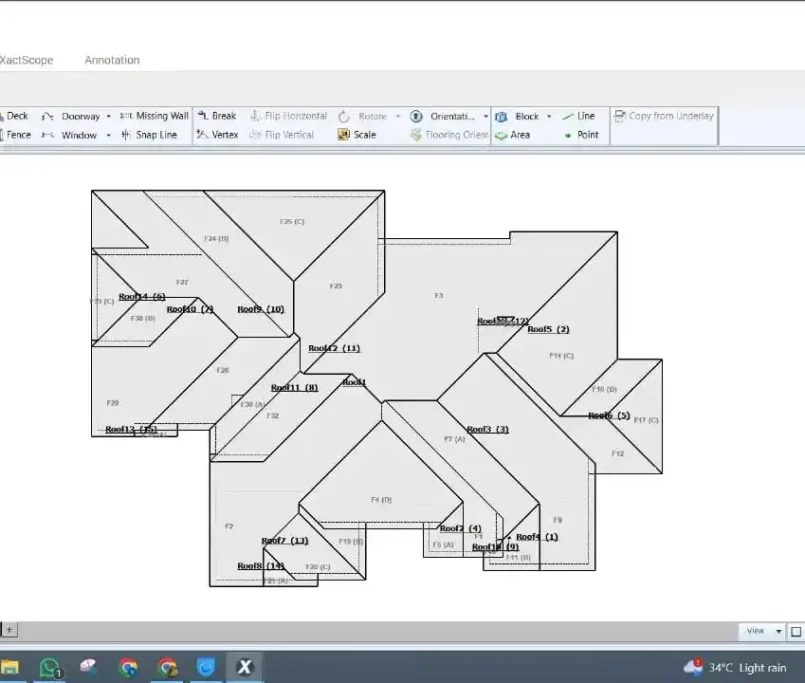
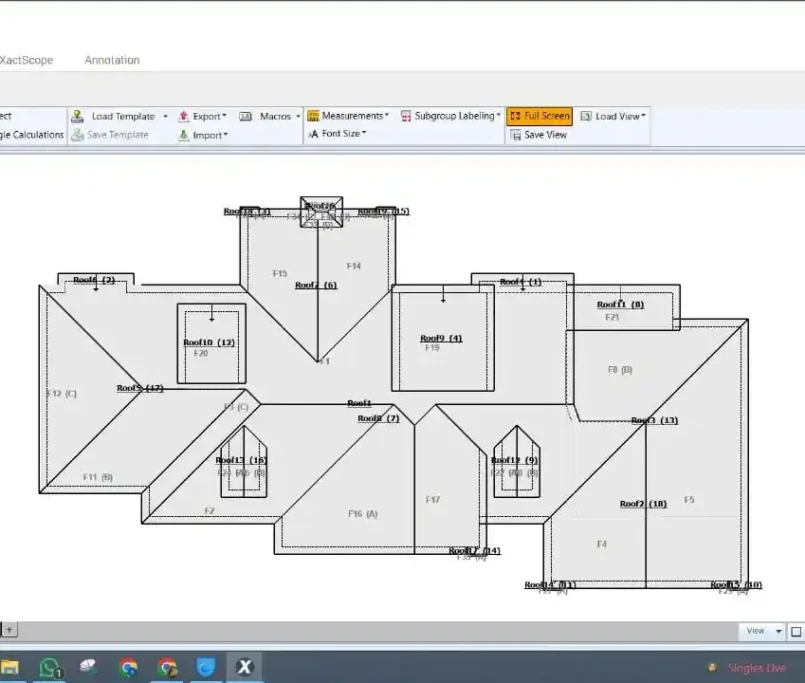
- Import into Xactimate: Import the .CRX or .HIP file into the Sketch tab for a 2D diagram.
- Set Your Scale: Calibrate using a known measurement to ensure accuracy.
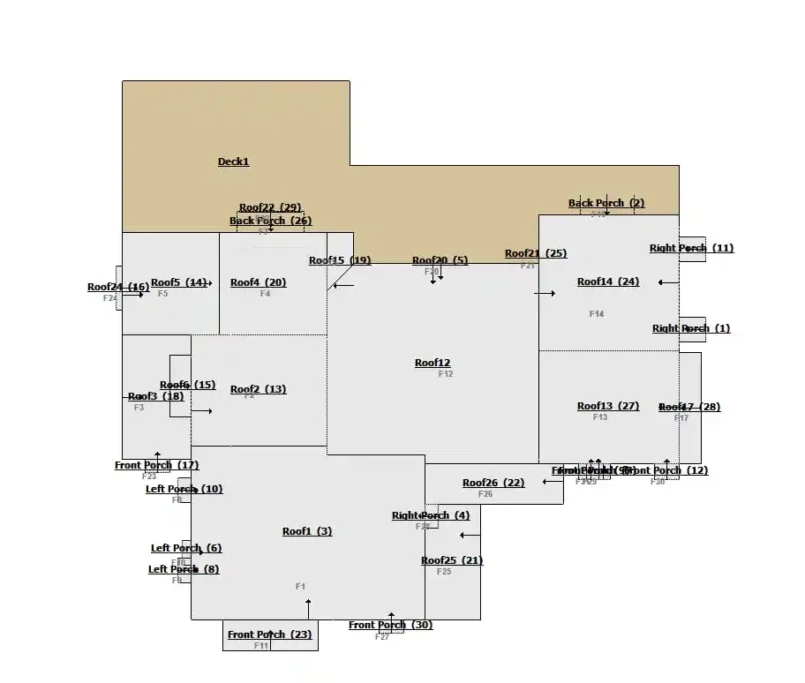
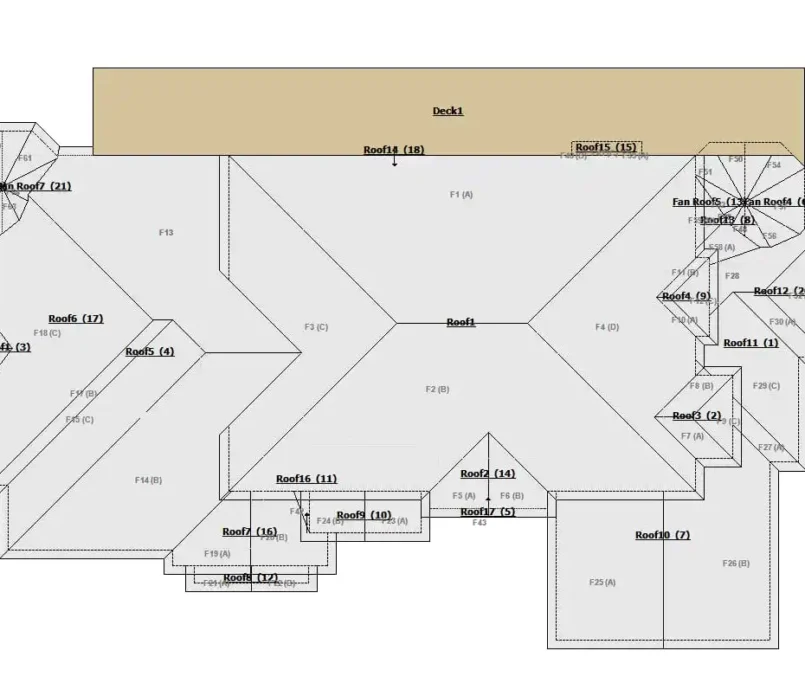
Sketching a Complex Roof
Trace over the imported image to create an intelligent sketch:
- Start with the Basics: Trace roof planes using the "Add Surface" tool.
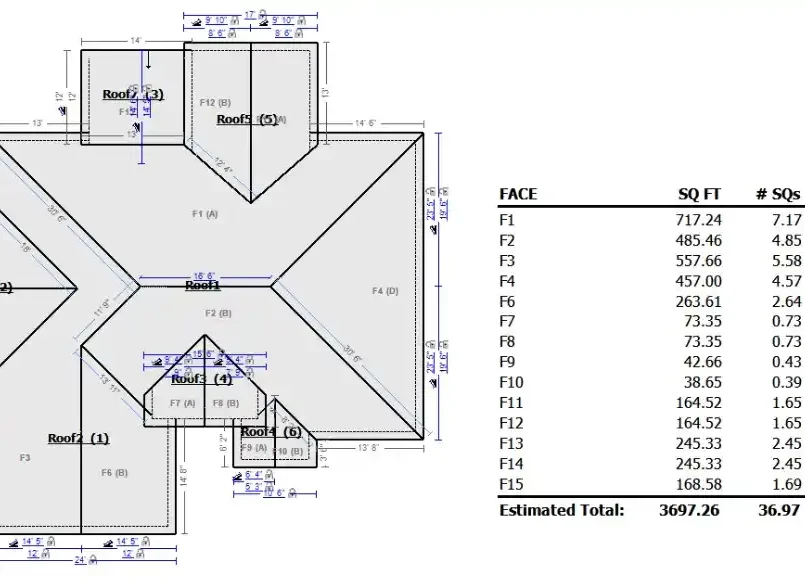
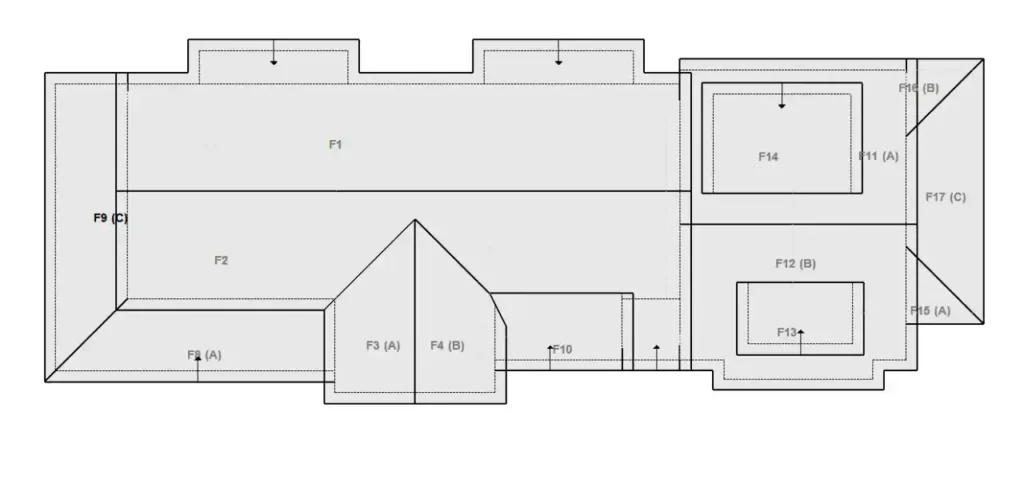
- Define the Features: Add hips, valleys, ridges, and rakes for accurate material takeoffs.
- Assign Properties: Define pitch, surface type, and waste factor for precise calculations.
- Layering for Complexity: Use "Add Level" and "Add Layer" for dormers and multi-level roofs.
Sketching a Flat Roof on Xactimate
Flat roofs require special attention to drainage and surface types:
- Pitch is (Almost) Zero: Set pitch to 1/12 or 0/12 to account for slight tapers.
- Focus on Drainage Features: Add drains, scuppers, and edge details.
- Surface Type is Key: Select TPO, EPDM, BUR, or modified bitumen accurately.
- Include Overlays: Sketch parapet walls as separate planes for flashing details.
From Sketch to Estimate
Your sketch generates precise quantities for your estimate:
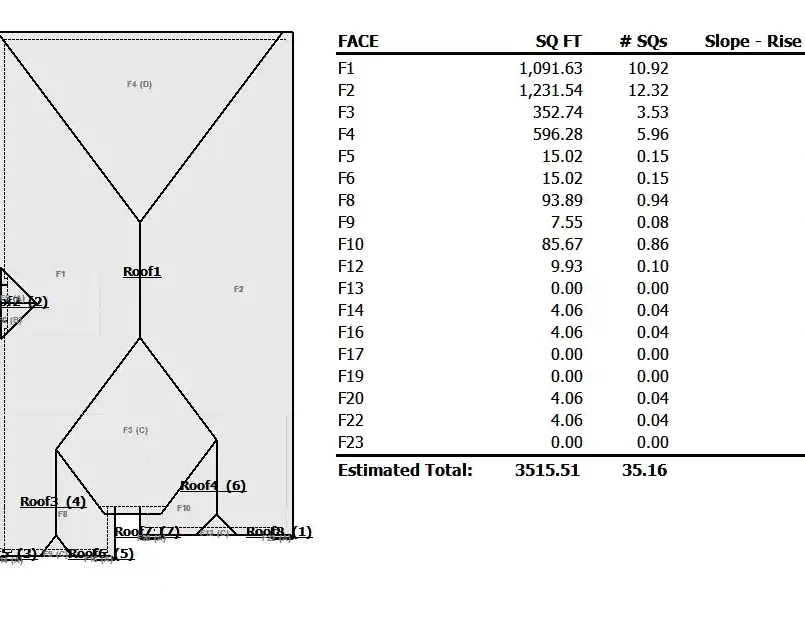
- Verify Quantities: Ensure total squares align with experience.
- Check Materials: Confirm ridge caps, drip edges, etc., are correctly associated.
- Waste Factors: Apply higher waste factors for complex roofs.
Advanced Tips and Common Pitfalls
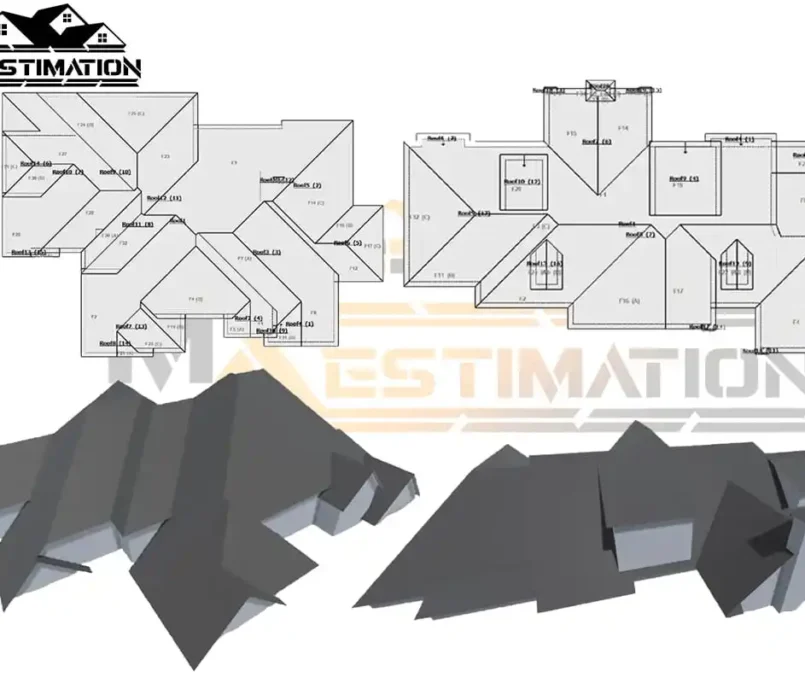
- Use the 3D Viewer: Check for errors in pitch or plane connections.
- Don’t Forget the Details: Include gutters, downspouts, and flashing.
- Avoid Over-Sketching: Keep sketches clear and uncluttered.
- Double-Check Your Report: Verify measurements against the image.
Invest in Your Mastery: Training is Key
Invest in Xactimate certification courses, online tutorials, and practice to become fluent in roof sketching. Practice sketching your own home or office to build muscle memory. Mastering Xactimate minimizes disputes, maximizes profit, and projects professionalism.